Mostly, in this case, the visual chaos was making me batty and it was hard to concentrate in general overall even when I was in any other space around the house. I guess I've become one of those people that if I know there's a mess somewhere in the house, it wears on my mental state.
 |
| I mean, you can see why, right? Holy hell. Wtf. How it's changed, omg. |
Heh, I'm probably weird.
So while what I had going on was working, only in that tools were at hand, invariably improvements can always be made, amirite?!
Like the Six Million Dollar Man, let's rebuild the workbench area better!
First I began with skootching the workbench out from the wall, heh, taking over yet more floor space, and added several shelves behind it on the wall.
Like secret hidden workbench storage.
Here I planned to stash items I use less often or smaller bits and pieces, dowels and such, say. Very simple, just some scrap wood pieces I had lying around and some simple brackets* attached to the wall and done.
But mostly here, a shelf unit type thingie that is partly level with the work surface so that I could have some wee storage cubbies was my main goal.
And so that’s what I did!
The idea was to store things that I reach for most: boxes of drywall screws, drill bits,* driver bits,* pencils, markers, whatever, ya know, that kind of stuff.
Luckily, I had a slab of 1x12 laying around so all I had to do was merely slice that in half giving me a piece for the top and a piece for the bottom, the bottom aligning with the top of the workbench surface itself.
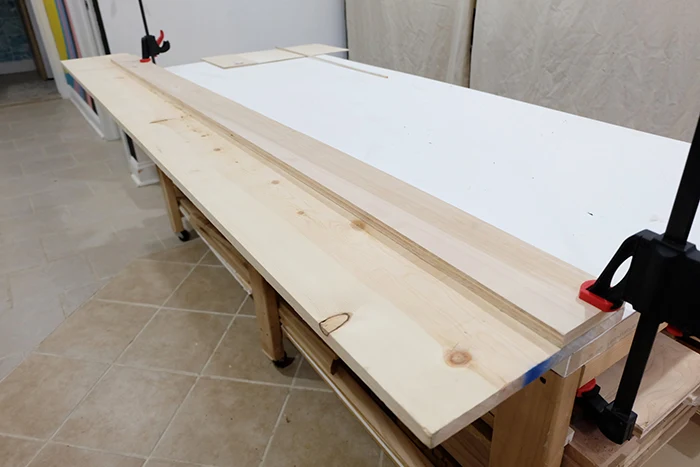 |
| This was before I sprang for that snazzy Bora saw guide. |
With some scrap remnants of 1x6, I evened those up to a random size based on one or two that already matched.
Whipping out the ol' compressor and brad nailer,* it was basic assembly from there. Well. Math. Some math to make sure the cubbies were spaced evenly and sitting here, I can't say if they are exact but likely close enough.
Someday maybe I'll be a carpenter. Fingers crossed.
Some glue, some nails, and I let that set up while I ran out for some angle brackets* to hang it off of.
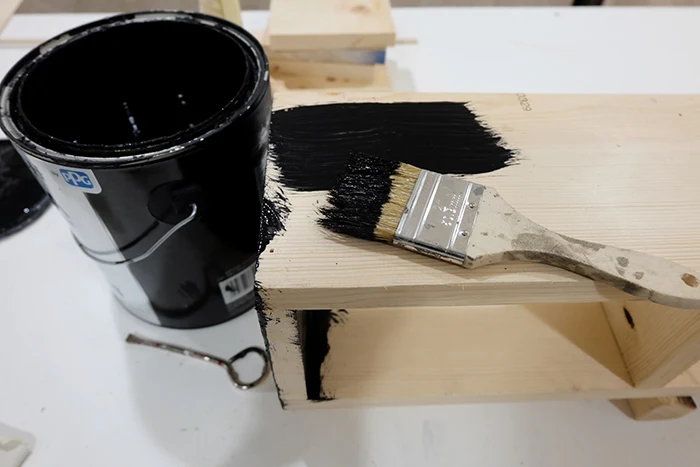
A lick of regular ol' black paint to match the DIY chalkboard paint wall and it was time to hang it up.
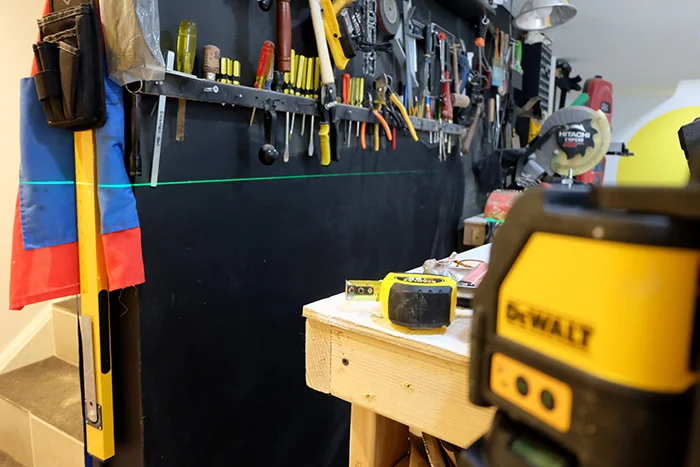
Here I whipped out the nifty laser level and did more math. Oh math. But! This I actually got spot the heck on and wow was I proud of myself.
Ok so the workbench height is one number, add for the total height of the cubbie shelf unit, subtract three quarters of an inch for the thickness of the unit's top, mark the wall, then laser level that line.
Along that line is where I attached angle brackets to the wall then slid the cubbie shelf unit onto them. With a tiny stubby screwdriver,* I wriggled in there some screws to attach the thing.
The moment of truth....skootching the workbench back up against it and voila! I did it! I truly was so proud. There were probably butt wiggle dances involved. Workbench updates in motion, woot!
Up next was pulling everything off the wall.
Then right when I pulled everything off the wall, blew up the entire basement, my rolling door cart completely covered in a total mess of tools, something came up, now I can't remember...was it lots of work? Did I hurt myself? I'm honestly drawing a blank about what occurred but the chaos sat and sat and sat. And sat.
Oh I think it was my back, my dang pinchy nerve, that’s what went awry and I couldn’t get back to this.
Talk about being batty. Yeah.
Eventually I did get back to this and it was time for more workbench updates.
To kind of tame the visual chaos some more, I opted for some curtains on the front of the larger workbench section. I (still....heh still) have plans to cover the other bench but lo, cannot for the life of me get to it.
Same premise essentially as the larger drop cloth curtains I made for hiding piles of crap along the opposite wall.
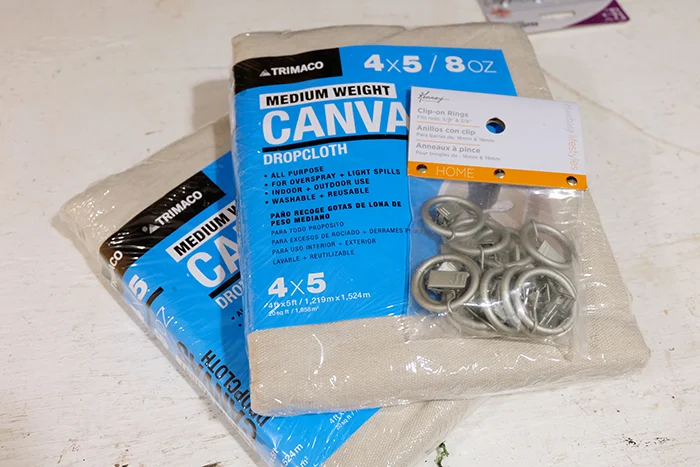 |
| Two drop cloths, one for each bench. And while the clip curtain rings* make total sense, I didn't end up using them as the gap at the top was too large. |
Here I picked up two packages of smaller canvas drop cloths* and cut them up. Well, in half. And basic-hemmed based on the dimensions of my workbench.
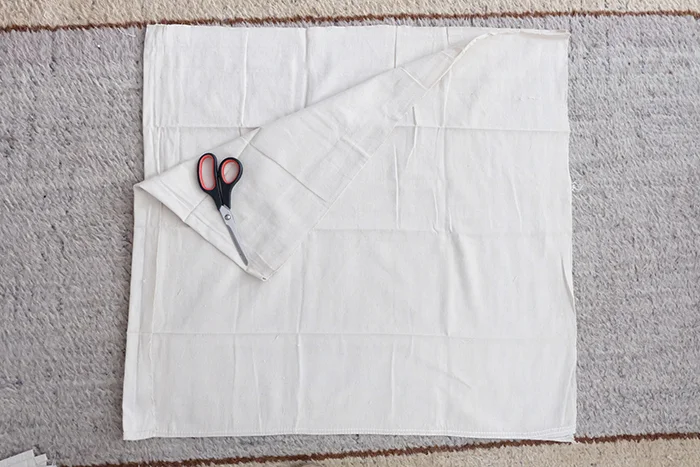 |
| Snip snip, one in half. Hey, where's my assistant? |
Grabbing a piece of conduit and a handful of those split ring hangers* from Menards, same hangers I used on the pallet wood blinds, those became my curtain rod and hanging hardware.
I took apart the split ring hanger and attached one half to the underside of the 2x4 framing of the workbench, same on the opposite end, then after trimming the conduit down to size with my grinder,* clamped it right in there.
Oh, not before I threaded the two curtain panels onto it of course.
And voila again, more workbench updates: curtains to hide sh*t!
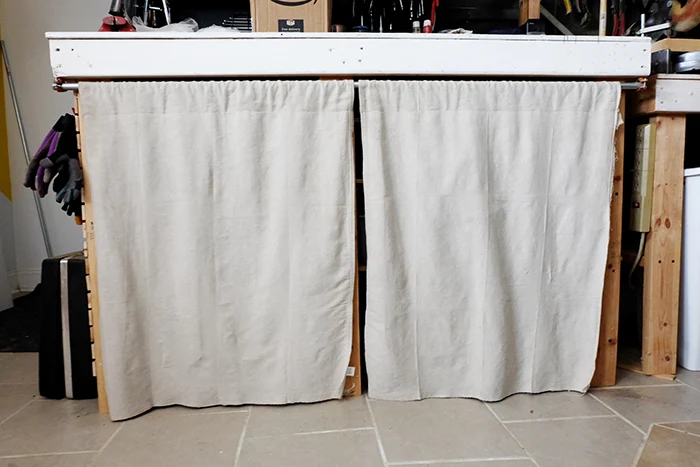 |
| See, I ended up making a fold-over top curtain instead. |
I can't say it's my favorite thing, unlike the cubbie shelf unit as I personally am not a fan of curtains under things to hide things, not a look I care for in my own home, but it does do the job I wanted it to. I'm always standing close to the workbench, I never really see them anyway. Heh.
Very simple. These workbench updates were incredibly inexpensive and I was on track to Six Million Dollar Man the whole get-up!
There are more updates to this whole workbench area shebang as I'm waving my arms around in circles but I imagine if I continue on here, it'll be too long of a read.
So, keep your eyes peeled (and I'll link to it here) for Workbench Updates, Part II!
If this project got you going, imagine what you could do. Download The $100 Room Glow-Up Guide and see what’s possible.
*The shelf brackets, drill bits, driver bits, brad nailer, angle brackets, stubby screwdrivers, and clip curtain rings are Amazon affiliate links. The canvas drop cloths are a Lowes affiliate link. The split ring hangers and grinders are Home Depot affiliate links. Mwah, thanks! Please see the "boring stuff" tab for more info.




I actually enjoyed reading it! Keep the good work going. Much love xoxo!
ReplyDeleteExcellent, thank you!
Delete