I don't know that these workbench updates necessarily warranted a two-part series, but, here we are with it. Seemed like too much for one post so now it's time for Workbench Updates, Part II!
Last we left off, I had made a cubbie storage unit thingie that floats on the wall, added some hidden shelves behind the main, larger workbench, and stitched up a drop cloth curtain to hide the lower shelf mess much like the ones on the opposite wall.
And then everything came off the wall! Oh my. Whew, you know not what you have until you move it out of where it’s stored!
It was a lot. I edited a hair but I use pretty much all of it. This tool collection and workbench has definitely blossomed. Whooo.
Anyway!
So if you remember, I had an Ikea CD rack that my brother gifted me a uh, ok, while back, ya know when CD’s were a thing. I hung it horizontally on the wall for storage in the name of reuse.
I ended up, and I feel kinda bad about it, I ended up cutting it in half. I shouldn't feel bad though because now it's an adaptive reuse of a reuse!
As part of the workbench updates part II, my strategy was to hang the two halves back up on the wall pretty much exactly in the same vein as before but this time I stacked them, one over the other.
I was hoping for this to magically create more storage but, somehow it seems less. Either way, it's storage, it functions, and storage good.
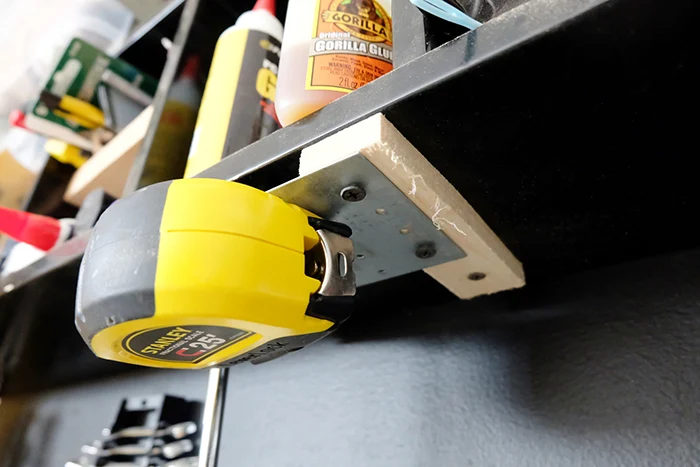
This next idea is rockstar, so brace yourself: I made a little under-shelf tape measure storage spot.
Merely it was only some scrap one-by bits and an extra mending plate* I had laying around from the wall organizer.
All I did here was hold a small piece of the one-by under the shelf unit, set the mending plate atop it and screw through all three into the shelf underside. Slip the other scrap piece in on the other side, zip zip. Sooo easy.
And of course I didn't take any pictures of this process. My apologies. Too focused on the workbench updates tasks at hand apparently!
To stow the tape measure so it is never lost, always convenient, its location always known, it's easy to grab and store -- just flip the tape measure* so the clip side is up and slide it onto the mending plate.
Bam! Nice, right?! Sooo useful! I think this is my favorite workbench update of the recent lot, in fact. Incredibly handy, I tell ya!
Next I half-a**ed some sort of French cleat storage for hand tools. Because I've always always wanted a French cleat system, heh. Can't let it go.
Tilting my band saw, I cut some angled bits from leftover plywood. Why the band saw*? Because the pieces were too narrow to cut with my compact saw and I'm trying to use up random scraps than cut into fancy fresh new stuff.
So yeah, they're a bit janky but paint 'em black to match the DIY chalkboard wall, stash lots of tools up in there, and I won't ever notice. Up on the wall a piece went.
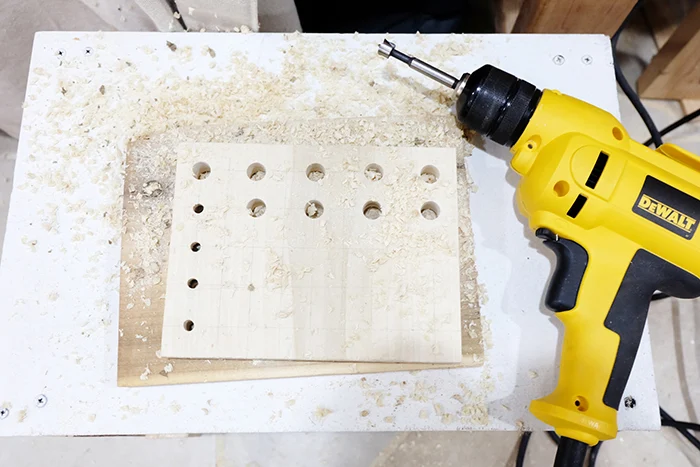
Grabbing some more scrap bits, my corded drill,* a drill bit,* and a Forstner bit,* I then mapped out and drilled out holes for hand tools. Easy peasy. Well, except for the math part.
After gluing on the other half of the cleat piece, stuffing the wood full of hand tools, I immediately discovered that they wouldn't stay up. Cutting some angles from yet more scrap bits, I glued them underneath for support.
And voila! Hand tools in an almost French cleat way!
I made two pieces but there's room for more, and eventually I patined them black to match all the other black.
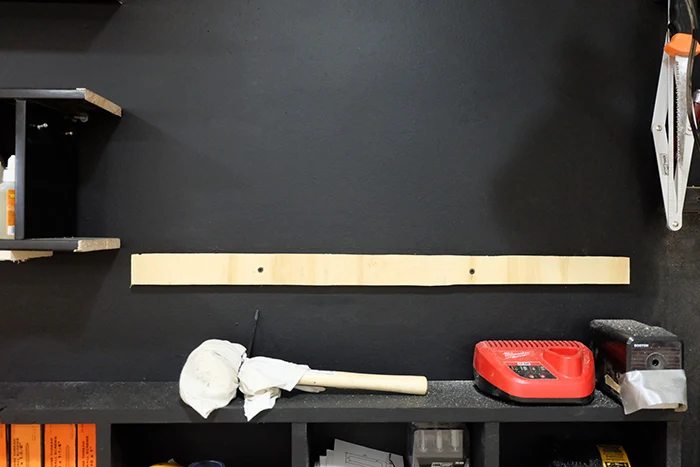
With some of the 2x2 that was originally holding my hand tools, I lopped off a piece and stuck it back up on the wall for more tool storage.
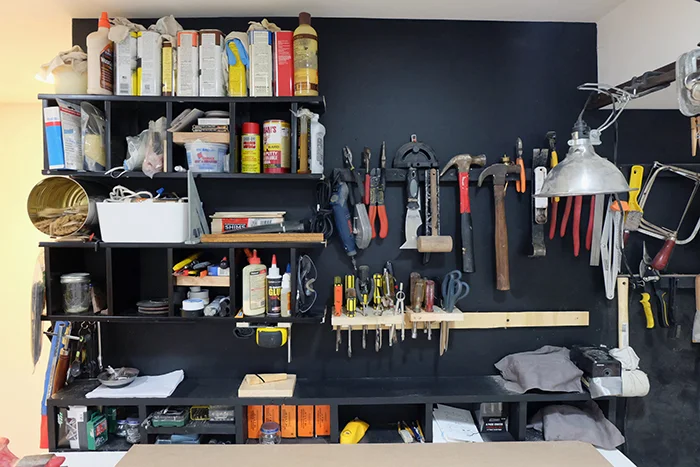
A few tweaks here and there, screws or nails or hooks to hang things up and everything was finally back on the wall.
Finally. Whew!
Oh, then using some leftover wood lath, I tacked it onto the side of the workbench using another piece of lath as a spacer. Just kinda, heh, dresses things up a bit ya know, hides the side of bench and also works as a place to hang things. Like gloves!
I will never use up or get through this darn lath collection, it seems. Like dust bunnies, it is.
 |
| Ah ha, here's a shot of those hidden shelves behind the workbench that I mentioned last time. |
So yeah, there we have it, workbench updates part II.
Is it perfect now? Nope. Does it feel less chaotic? Ehh, not entirely but it feels better....maybe? Heh, I dunno. At least I suppose it's different than it was and that's enough for now. Until next time.
If this project got you going, imagine what you could do. Download The $100 Room Glow-Up Guide and see what’s possible.
*The mending plates and band saws are a Lowes affiliate links. The tape measures and corded drills are a Home Depot affiliate links. The drill and Forstner bits are Amazon affiliate links. Mwah, thanks! Please see the "boring stuff" tab for more info.


Post a Comment
Please no spam or links, thanks!