
Hafta' come clean here, this being home extra stuff has me tweaking to redo everything. Like the whole first floor. Literally. Iiii know. I'm scheming daily. It’s scary. House ≠ theater production.
But, one piece at a time. Ahem, cough.
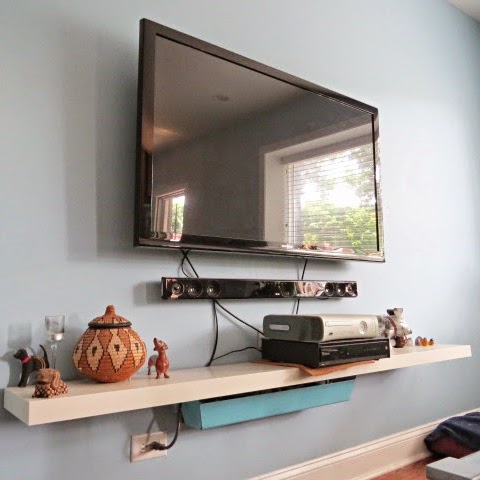
So I hung that brassy Sputnik fixture I purchased off Apartment Therapy’s Bazaar Marketplace, ‘member? That one replaced my first installation which I was never terribly fond of. I don’t remember...oh yes, right, it was just a yawnsville recessed can that I turned into a glass pendant. Those conversion kits* rock.
 |
| Gratuitous before shot. And I actually sold this fixture (unintentionally) for ten bucks more than I paid for it. Woot!! (I intended to break even but she didn't negotiate.) |
Riiiiight, so up went Sputnik-y fella and Mike hated it. Right off the bat. The very moment he spotted it walking to the stair he said, “aw yuck babe, no,” and literally kept walking. A drive-by yuck. Sigh. He wasn’t crazy; it was too *bwaahhh* bright brassy.
After emailing off various replacement suggestions to him, I hit upon one on that he liked. Finally! But it was about three hundred or so bucks. What on earth was I thinking?!
I know what I was thinking: I could build it instead. Hahahaha, so I told myself. What was I thinking?!

Though I did locate a version of it on Amazon* for less, I wasn’t up for springing that cashola either. (Granted, if you zoom in on that one, you'll see the hallmarks of a cheap fixture.)
Does this cross the line into copycat rip off, if you can’t afford the real deal you must be denied? No, not in my opinion. It provided a learning opportunity and if I could pull it off, a project I’d be pretty proud of.
Point being, TLDR, is that you too can make your own custom light fixtures. No matter your skill set, you can make a fixture. No joke. Just get creative with pieces and parts. Toss in a lesson in basic wiring and you’re good to go. Seriously!
Wiring is one of the many things my prop days taught me and I am forever thankful. I must qualify here: if you are even the remotest bit squeamish about wiring, please be and hire a qualified licensed electrician instead. Do not take wiring advice from me.**
All righty. How did I create this fixture? Well, heh. It was a long road. I mean, in compressed actual time maybe not but because this process bored me so often with its repetitiveness, I had a tough go compelling myself to work on it.
I’m finding as time lapses onwards, I’m not big into projects where I do the same things repeatedly, it gets tedious and uninteresting hence why I'll never be a master woodworker. If I'd have really set myself to this, it probably would have taken a week, not the months.
Ok. You're not here for a psychological archeology excursion through my whack-a-doo brain.
First I studied the images of the original, how it was constructed, the shapes, blah blah, ya know. Studied.
Next, a few measurements here and there, tape measure flailing in the foyer, then I formulated a general plan of attack: find some wood, cut it up, slap it onto a pendant kit* gizmo and we have a new light! Voila! Insert confetti and a parade here.
 |
| Here's the pendant part I ordered up which is out of stock at the time of press. |
New light! Why was it not done already?!
Ok, so next step, I used AutoCAD* to draw up the swoopy shape that is the entire fixture, oh and also draw up the part that everything connects to, the main junction point, but you can sketch it out by hand. Or, in part two of this story, I’ll have a link for you to download my drawings. It's because I care!
The only reason I'm splitting this between two posts is that I have too many photos I want to share, not because this requires a boatload of babbling explanation. Though now you get babbling explanation.
 |
| hahahahaaaaa.... |
Yes, I literally printed out the drawing, taped it together and stood in the foyer with it, paper in the air, tilting head. No, it wasn't helpful. Yes, that's me reusing paper from the vinyl record shelving (that I already want to redo).
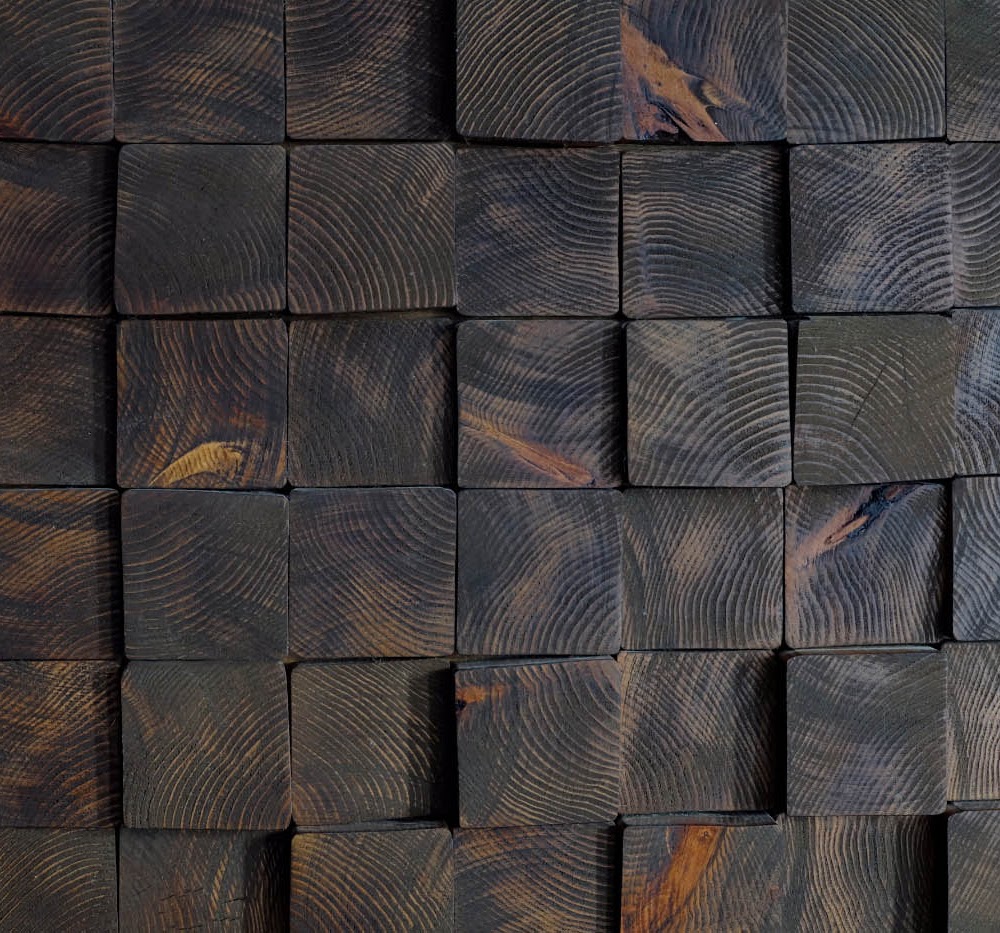
So I picked up some quarter inch thick plywood, two pieces of two foot by four foot from the ol' second home, about twenty four bucks total.
 |
| The one thing I didn't take a photo of, the front and back together so you could clearly see the difference. |
I admit, I was all a’-turmoil that the faces of the plywood didn’t match. One side was a clean and pristine veneer, the other side was more of lauan experience. Two very different colors.
But, it was all I could find. Without spending more than the Amazon fixture or the original, I should say. I crossed my fingers that all would be well. Yikes.
Ok, so here we go! I printed out my drawing, taped it together, sprinkled the back with powdered charcoal,* and with a very sharp pencil,* traced the shape onto the wood. Eighteen times.
 |
| Trace and cut eighteen. Deep breath, heh! |
If you don't have powdered charcoal, you could grind up some colored chalk or pencil lead, or scribble the back with pencil lead. Anything that will transfer light lines onto the wood.
Powdered charcoal is super handy for lots of stuff and it's a waaaay better option in a snap line.* You know I'm right....try to erase that nasty snap line chalk, it never ever goes away.
Next, whew, next: hours on the spiffy bandsaw. Eventually I had eighteen swoopy shapes cut out.
 |
| At times it did become quite Zen, the monotonous cutting. Other times it was a pain in the a**. It's worth it Becky, it'll be totally worth it, I kept telling myself. |
How long did this take me again? Too long. Months. Seriously, months. I am not kidding. That's how much it bored me.
What's next? Sanding. Hahahaaaa, more tedium. Ohhhh the sanding! I used a flapwheel sanding thingie in my rotary tool* for nice smooth edges. I also used some fine-grit sandpaper for the face sides, 100 grit and then 400* too.
 |
| These flapwheels,* while they throw bits of gack everywhere, especially into eyes (wear eye protection!!*), they are fabulous little numbers. |
At the same time, I was figuring out stain, what color to stain the wood and you know that's gonna take me forever, the what if's again....
 |
| Testing, testing, one two three. Testing stains as well as tung, teak, and antique oils* on both the front and back sides. Decisions decisions, oy dear. |
At the same time all this is going on, I'm working on that main junction point too, the part where everything connects and runs through. Yeah that was a spot of trial and error.

This was probably my sixth attempt but it was correct. Eventually. Two pieces of the plywood sandwiched together, one circle just a hair smaller than the main circle then notches trimmed out for each of the swoopy pieces to plug into. Yep, more cutting!
Point being, the smaller circle would act as a stop/rest for the hanging pieces and double thickness with the face grains going in opposite directions to eliminate (or slow) wood bowing over time. Not that this fixture is heavy, it's not, but better safe than sorry.
Heh, it seemed like these little discarded cogs were everywhere, how many times I goofed, heh.
A good solid glue* sandwich there and the circle was ready for its next step. Ugh, nap time.
Jeez Becky, you really read as a grumpy crabby ol' curmudgeon about this darn light fixture process, you may be thinking, but honest to goodness truth be told, I was in fact quite enthusiastic for this pendant light and I am currently kinda quite pooped heh.
Catch up on the amazing fan-freaking-tabulous fancy pants light fixture unveiling next time!
And now, click here to see how the light fixture turned out and to get the free plans for this light fixture!
*The recessed can converter kits, the example light fixture, pendant light kits, powdered charcoal, electric pencil sharpeners, snap lines, rotary tools, sandpaper, flapwheels, eye protection, woodworking oil finishes, and Gorilla glue are Amazon affiliate links. The AutoCAD affiliate link is a software subscription. Mwah, thanks! Please see the "boring stuff" tab for more info.
**Disclaimer: Electricity is dangerous. It can hurt you. It can kill you. Bad wiring can burn your house down. It's best to hire a qualified, licensed electrician if you don't know how to wire things. Do not attempt to wire anything without the proper knowledge. Do not ever take wiring advice from me. And do not blow your house up.


Post a Comment
Please no spam or links, thanks!